|

|
Click on the signature image in your email and save it to your pictures folder.
|
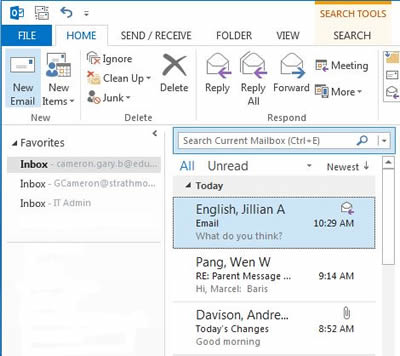
Open Outlook.
Click on the File tab top left corner. |
|
|
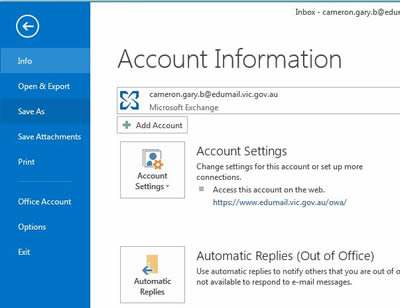
Click on Options.
|
|
|
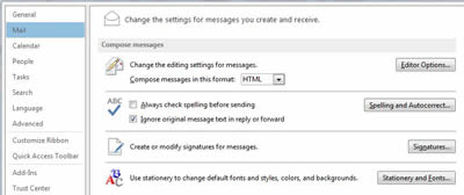
Click on Mail and look for the Signatures button.
Click on Signatures. |
|
|
The E-mail Signature window will open.
Click on New. |

|
|
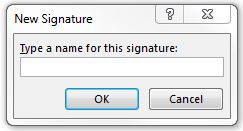
Type a name for your new signature.
Click OK |
|
|
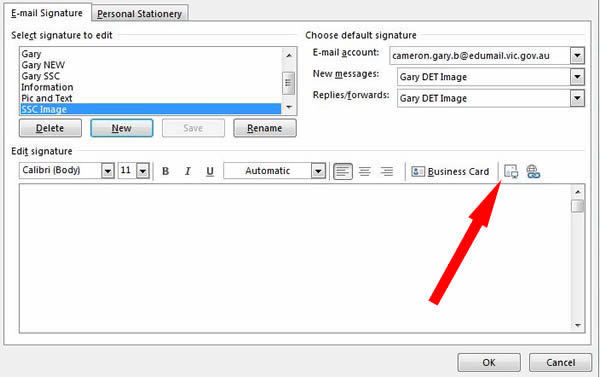
Your new signature name should be highlighted, with a blank box below.
Click the add image button (look at the arrow). |
|
|
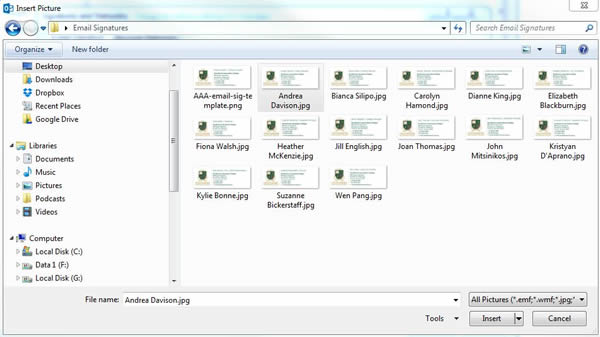
Browse to the location you saved your email signature image to (instructions were in the email).
Click on the image file and click Insert. |
|
|
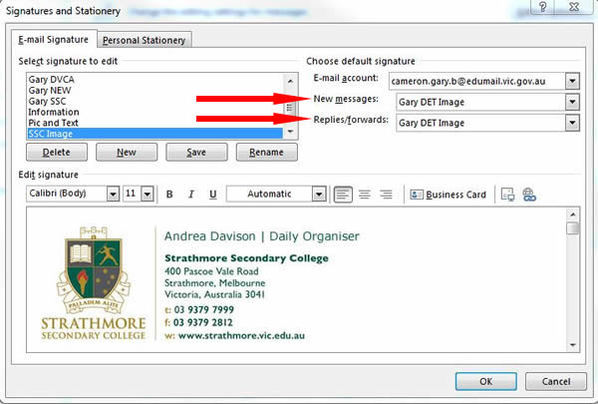
Your email signature image will show.
Now change your default signature for new messages and replies/forwards. Click the drop box next to each, and select the name you gave your signature earlier. You can add text above the image, just type it in before you add the image. Click OK. |
|
|
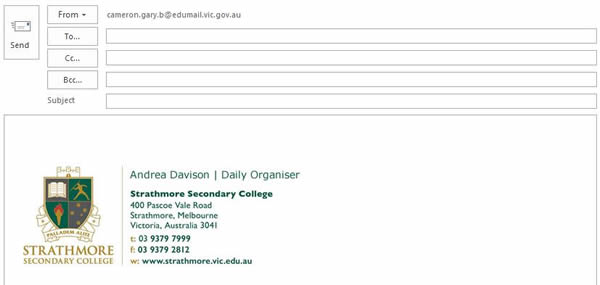
Go back to your inbox, click on New Email.
Your new signature image (and text if you added some) should be there. |
|